 Save to Pinterest
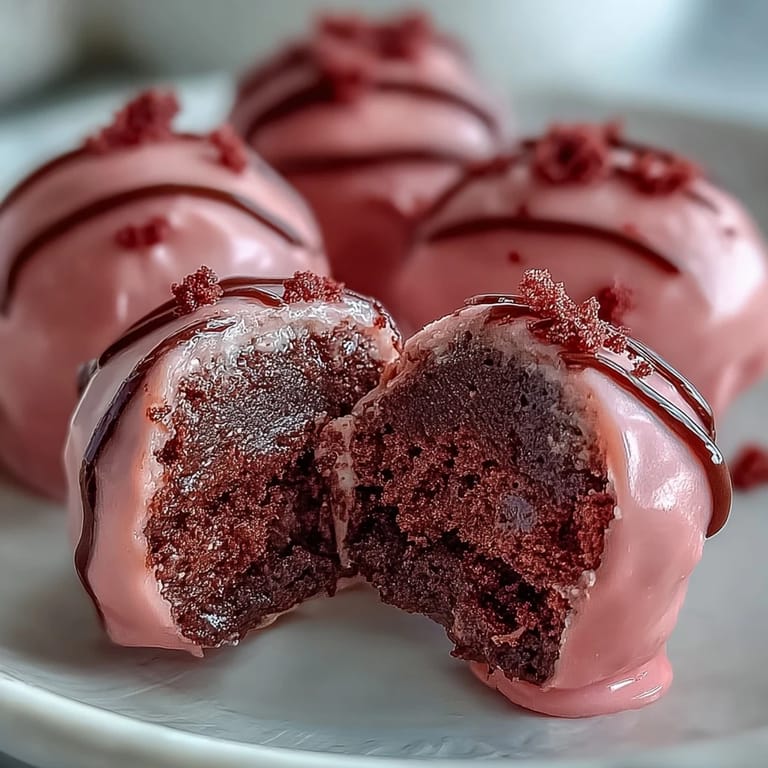
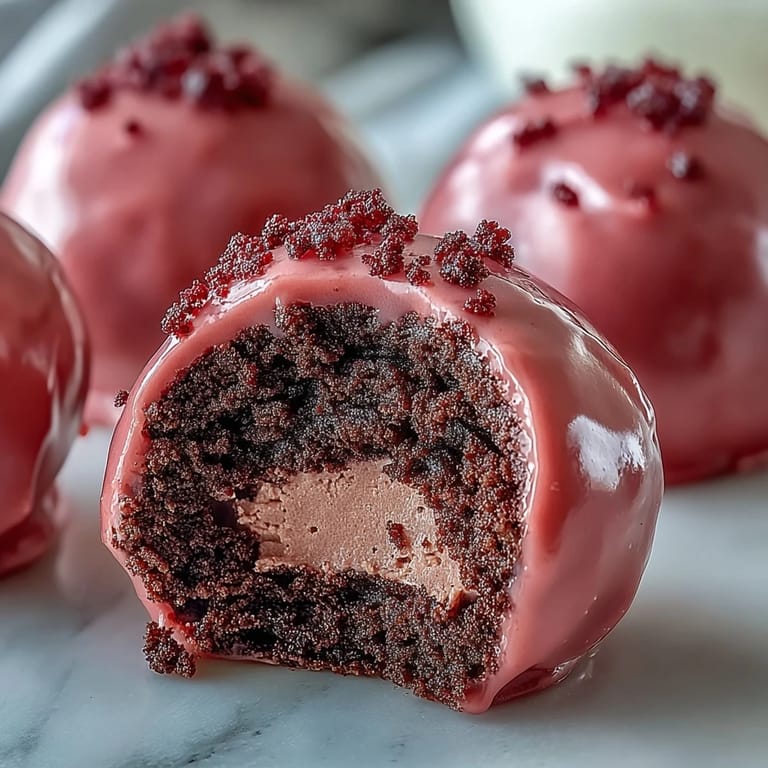
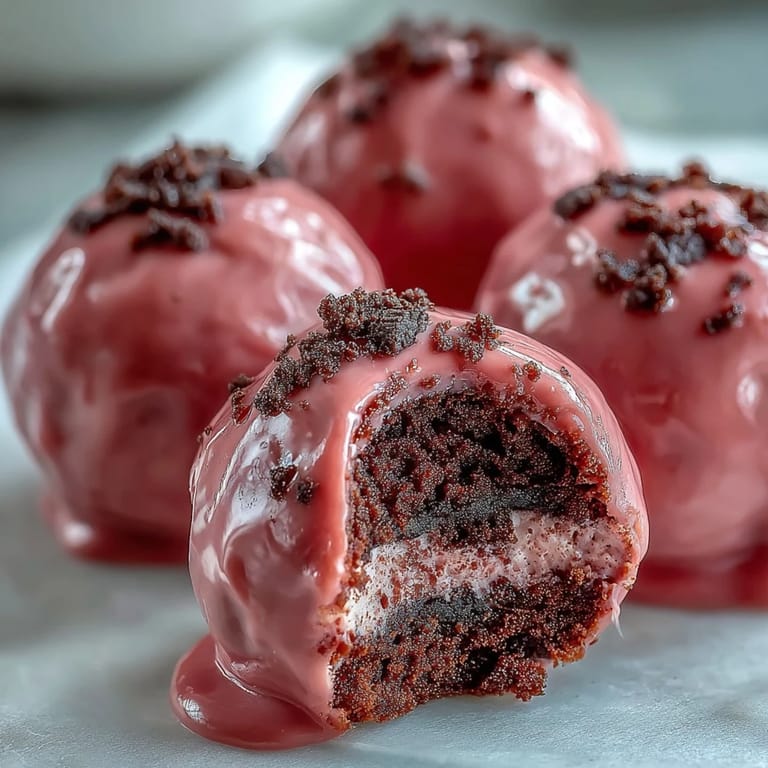
 My sister brought these to a bridal shower last spring, and I watched guests hover near the dessert table, sneaking seconds when they thought no one was looking. The pink coating cracked cleanly under my teeth, giving way to a soft, cookies-and-cream center that tasted like childhood but looked sophisticated enough for champagne. I asked for the recipe on the drive home, and she laughed because it only had two ingredients in the filling. Sometimes the simplest things steal the show.
I made my first batch for a coworkers retirement party, and by the time I arrived, the coating had developed a lovely sheen under the kitchen lights. A few people asked if I had ordered them from a bakery, which felt like the highest compliment. One woman told me her daughter was getting married in June and wanted to know if I took orders. I didnt, but I did share the recipe, and now I see photos of her versions pop up on social media every few months in different colors.
Ingredients
- Oreo cookies: Use the whole cookie, filling included, because that sweet cream adds body and flavor without extra sugar or fat.
- Cream cheese: Let it sit on the counter for at least 30 minutes so it blends smoothly with the crumbs instead of leaving lumps.
- Pink candy melts: These melt more predictably than chocolate chips and set with a glossy finish that looks professional even on your first try.
- Vegetable shortening: A tiny bit thins the candy coating just enough to prevent thick, uneven layers that crack or look clumpy.
- Sprinkles or edible pearls: Press them on within seconds of dipping, or they will slide right off once the coating starts to set.
Tired of Takeout? 🥡
Get 10 meals you can make faster than delivery arrives. Seriously.
One email. No spam. Unsubscribe anytime.
Instructions
- Crush the cookies:
- Pulse the Oreos in a food processor until they look like dark sand, or seal them in a zip-top bag and roll over them with a pin until no large chunks remain. Either method works, but the processor is faster and more consistent.
- Mix the base:
- Stir the softened cream cheese into the crumbs with a sturdy spatula, scraping the bowl sides until the mixture turns uniformly gray-brown and holds together when pinched. If it feels dry, your cream cheese may have been too cold.
- Shape the truffles:
- Scoop a tablespoon of mixture, then roll it firmly between your palms to form a smooth ball without cracks. Set each one on a parchment-lined sheet and repeat until the bowl is empty.
- Chill until firm:
- Slide the tray into the fridge for 30 minutes or the freezer for 15, just until the truffles feel solid enough to dip without falling apart. Warm truffles will melt the coating and create a mess.
- Melt the candy coating:
- Microwave the candy melts in a bowl at half power in 30-second bursts, stirring between each round until silky and smooth. Stir in the shortening if you want a thinner, shinier finish.
- Dip and coat:
- Drop a chilled truffle into the melted candy, roll it with a fork to cover completely, then lift and tap the fork gently on the bowl edge to shake off excess. Slide it back onto the parchment.
- Decorate immediately:
- While the coating is still glossy and wet, sprinkle on decorations or press edible pearls gently into the surface. Work quickly, because the candy sets fast.
- Let the coating set:
- Leave the truffles at room temperature for about 15 minutes, or refrigerate them for 10 if you are in a hurry. The coating should feel hard and dry to the touch before you stack or pack them.
 Save to Pinterest
 A neighbor once told me these reminded her of the fancy truffles her grandmother used to buy from a chocolatier downtown, except she liked mine better because they tasted like the Oreos she snuck from the pantry as a kid. That comment stuck with me, because it captured exactly what I love about this recipe: it bridges nostalgia and elegance without pretending to be something it is not. Food does not have to be complicated to feel special.
Storing and Serving
Keep these truffles in an airtight container in the fridge, where they will stay fresh and firm for up to a week. I like to tuck a sheet of parchment between layers so the coating does not stick or scratch. Serve them cold, straight from the fridge, because the contrast between the cool, creamy center and the crisp shell is part of the charm. If you leave them out too long at room temperature, they soften and lose that satisfying snap.
Flavor and Color Variations
Swap the pink candy melts for white, dark, or milk chocolate to suit different tastes or themes. I have made green ones for a baby shower, red and white for Valentine's Day, and pastel rainbow batches for Easter that looked like jewels on the plate. You can also fold mini chocolate chips, crushed peppermint, or finely chopped freeze-dried strawberries into the truffle base before rolling for subtle flavor twists. Each variation feels like a new recipe, even though the method never changes.
Troubleshooting and Tips
If your candy coating feels too thick, stir in another half teaspoon of shortening and microwave for 10 seconds to loosen it up. If the truffles crack when you dip them, they were probably too cold, so let them sit at room temperature for a couple of minutes before trying again. And if you end up with leftover melted candy, drizzle it over pretzels or graham crackers instead of letting it harden in the bowl.
- Roll the truffles as uniformly as possible so they dip and coat evenly.
- Work in small batches if you are new to dipping, so the candy stays warm and fluid.
- Line your tray with fresh parchment after each batch to prevent sticking and make cleanup easier.
 Save to Pinterest
 These little pink spheres have become my go-to whenever I need to bring something that looks impressive but does not require advanced skills or exotic ingredients. They make people smile, and honestly, that is the best reason to bake anything.
Recipe Questions & Answers
- → Can I use different types of cookies?
Yes, you can substitute other chocolate sandwich cookies or try vanilla varieties for a lighter flavor. The texture and creaminess will remain similar.
- → How do I prevent the coating from cracking?
Ensure truffles are thoroughly chilled before dipping and avoid drastic temperature changes. Adding a teaspoon of vegetable shortening to the melted candy helps create a flexible coating.
- → Can I make these ahead of time?
Absolutely. Prepare the truffle centers and refrigerate for up to 3 days before coating. Once dipped, store finished truffles in an airtight container for up to 1 week.
- → What's the best way to melt candy melts?
Melt in 30-second intervals at medium power, stirring thoroughly between each session. This prevents overheating and seizing. A double boiler also works well for gentle, even melting.
- → Can I freeze these truffles?
Yes, freeze uncoated truffle balls for up to 2 months. Thaw in refrigerator before coating. Already coated truffles can be frozen but may develop condensation; serve chilled rather than frozen.
- → How do I get the pink color?
Use pre-colored pink candy melts or tint white melts with oil-based food coloring. Avoid water-based colors as they will cause the coating to seize and become unusable.