 Save to Pinterest
 The first time I made this Blush Pink Rosé Velvet Cake, the sunlight was spilling over my kitchen counter, catching the shimmer of edible gold dust on my fingertips. There’s something oddly calming about whisking together flour and cocoa powder while the faintest scent of rosé fills the air. I didn’t expect the entire house to smell softly fruity and ever-so-slightly floral, but that moment made me pause and inhale—just enjoying the anticipation. My playlist was all upbeat love songs; icing sugar covered the floor, my apron, and, at one point, even my hair. Sometimes a cake feels like a little celebration all on its own, a quiet secret before the party actually begins.
One spring afternoon, I baked this cake for my friend’s bridal shower, trying to balance the laughter of a roomful of women balancing champagne flutes and flower crowns. When I sliced into the pink velvet layers, the whole group fell into an awed silence—a rare feat for that chatty bunch. The cake’s shade matched the blushing bride almost by accident, and more than one person asked for a second sliver with a shy smile. That day, cake felt less like dessert and more like a centerpiece in the story we were making together.
Ingredients
- All-purpose flour: Sift it well to avoid any lumps for a finer crumb; unexpectedly, even a slight clump changes the slice.
- Granulated sugar: Cream thoroughly with butter to give that classic velvet cake softness.
- Baking soda and baking powder: Keeps the cake tender and airy—don’t skip double-checking the dates for freshness.
- Salt: Just a pinch, but it sharpens the flavors and tames the sweetness.
- Unsweetened cocoa powder: Lends the barest chocolate echo and deepens the blush tint; use Dutch process if you want extra richness.
- Unsalted butter: Softened, never melted; I once made the mistake of microwaving it too long and wound up with a greasy batter.
- Buttermilk: Room temp makes blending easier and gives that signature tangy bounce.
- Rosé wine: Pick one you like to drink for the best aroma; a cheap bottle tastes flat in a delicate cake.
- Eggs: Leave them out ahead of time so they mix in smoothly—no streaks of uncooked egg in your batter.
- Vanilla extract: Makes all the difference for fragrance; splurge on real vanilla if you can.
- White vinegar: It activates the baking soda for extra rise and helps preserve that pink color—I learned this the hard way with a too-brown cake.
- Pink food coloring gel: Start with a toothpick swirl and build up to your dream shade; liquid dye can throw off batter consistency.
- Cream cheese: Needs to be soft for effortless blending; otherwise, you’ll be chasing lumps for ages.
- Powdered sugar: Sift to avoid surprise clumps in your frosting; I forgot once, and it left tiny white pockets in the finish.
- Heavy cream: For the gold drip, the cream is key for a silky, pourable texture.
- White chocolate chips: Melt gently or they’ll seize; patience is rewarded with a glossy drip.
- Edible gold luster dust: The showstopper—apply gently with a dry brush for perfect shimmer without streaks.
- Vodka or clear extract: The trick for painting on the gold; it evaporates cleanly, leaving just sparkle behind.
Tired of Takeout? 🥡
Get 10 meals you can make faster than delivery arrives. Seriously.
One email. No spam. Unsubscribe anytime.
Instructions
- Get set up:
- Preheat the oven to 350°F (175°C) and line three 8-inch cake pans with circles of parchment, lightly greasing the sides for tip-out bliss.
- Mix your dry ingredients:
- Inhale the cocoa aroma as you sift the flour, cocoa, baking soda, baking powder, and salt into a bowl—it already hints at blissful cake ahead.
- Creaming moment:
- In your biggest mixing bowl, cream together the butter and sugar at medium speed until pale and a little fluffy, about 3 minutes of whirring and patience.
- Add eggs and vanilla:
- Crack eggs in one at a time, letting each disappear fully before the next; pour in vanilla, pausing to scrape the bowl so nothing lingers at the bottom.
- Liquids in:
- Stream in buttermilk, rosé, and vinegar with the mixer on low, a bouquet of smells rising up—the vinegar will seem sharp but mellows as it bakes.
- Combine and tint:
- Gently fold in the dries until just combined, then swirl in pink coloring gel bit by bit until the batter has a romantic blush.
- Divide and bake:
- Spoon batter evenly into pans, then bake for 30–35 minutes—listen for the faint crackle and check with a toothpick for doneness.
- Cool off:
- Let the cakes rest in their pans 10 minutes, then tip them out onto wire racks to cool, resisting the urge to frost too soon.
- Make frosting:
- Beat butter and cream cheese together until creamy; slowly rain in sifted sugar, then finish with rosé, vanilla, and salt for a swoon-worthy frosting.
- Assemble and crumb coat:
- Level cooled cakes; stack with frosting between each, cover the outside with a thin crumb coat, and chill for thirty minutes to lock in neatness.
- Final frosting:
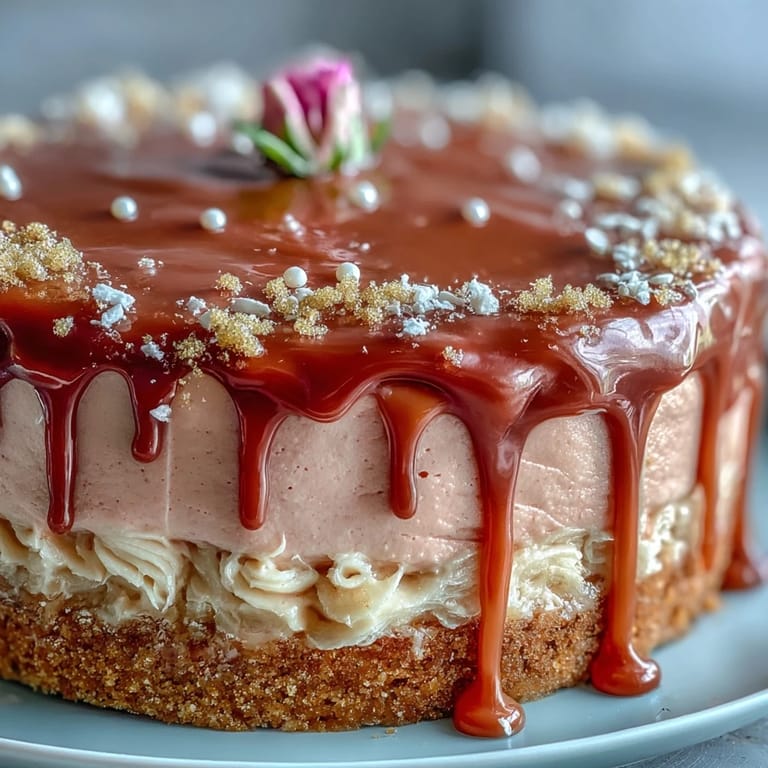
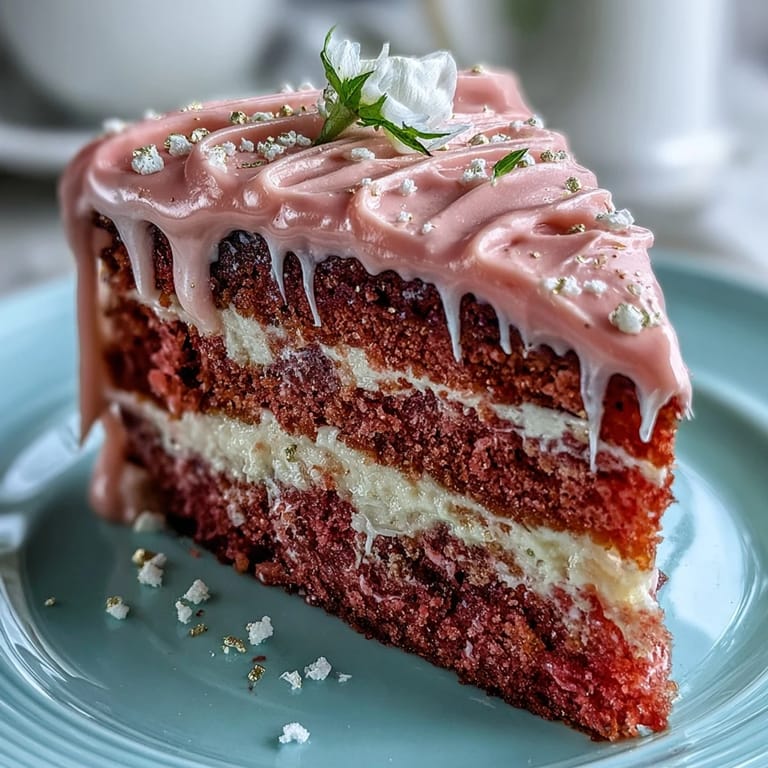
- Smooth a thick layer of frosting over the whole cake, letting ribbons curl and swirls form—imperfection is part of the charm.
- Gold drip prep:
- Microwave white chocolate with cream in short bursts, stirring patiently until glossy and fluid; let cool just until slightly thickened.
- Drip and paint:
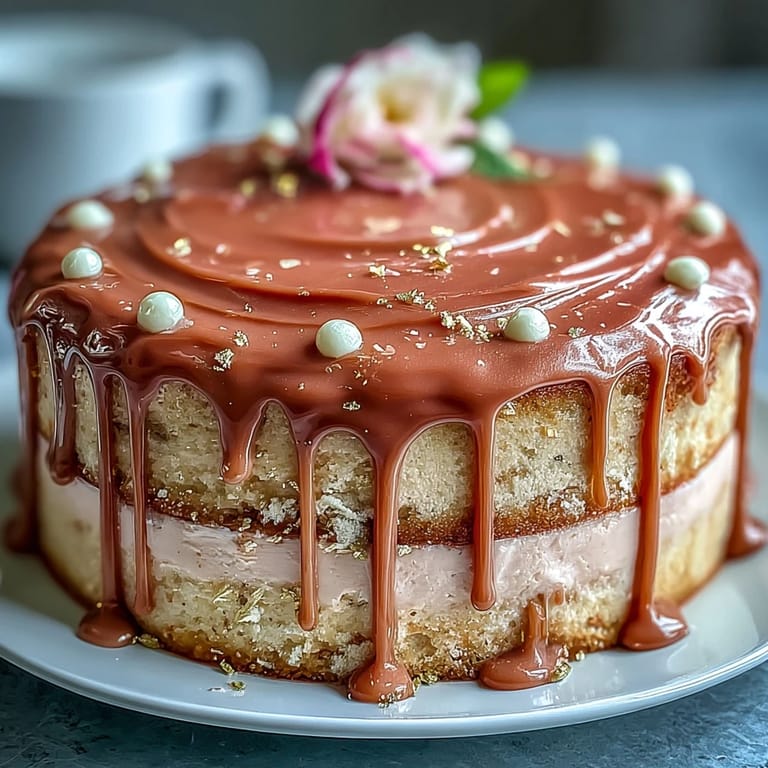
- Spoon or bottle the chocolate along cake edges for graceful drips, then, once set, mix gold dust with vodka or clear extract and paint gently on each drip.
- Final chill:
- Chill at least thirty minutes—slice with a sharp knife for envy-inducing perfect portions.
 Save to Pinterest
  Save to Pinterest
 The first time someone hugged me after tasting a forkful, I realized this cake does more than impress—it starts conversations, turns strangers into friends, and sometimes becomes the excuse for happy tears. That simple slice has marked new beginnings and sweet toasts more times than I can count.
Choosing the Perfect Rosé
I’ve found that a dry rosé gives the cake a more nuanced flavor, keeping things refreshingly crisp instead of too sweet. If you’re nervous about the wine shining through, taste your rosé first—fruity notes work, but avoid anything overly syrupy. Even the tiniest splash left over in your glass makes the baking smell like summer. Non-alcoholic sparkling grape juice stands in seamlessly for a crowd-pleasing, kid-friendly version. Swapping the rosé is also a great way to personalize this cake for every occasion.
Decorating Without Stress
The gold drip intimidated me at first, but I realized it only takes patience and a steady hand—plus a sense of humor if the drips are less than perfect. If your paint runs or puddles, just call it modern art and add a few edible petals to distract. Decorating is my favorite time to rope in a friend: one person paints, one perfects the crumbs. Simpler touches, like little piles of berries or edible flowers, can finish the look in five un-fussy minutes. It’s supposed to feel celebratory, not stressful; let the mistakes sparkle along with the cake.
Make-Ahead Magic and Serving Tricks
Chilling the layers overnight actually makes assembly simpler and the flavors even richer—plus, it’s a lifesaver on busy days. A sharp knife dipped in hot water slices through the frosting like a dream, leaving tidy portions that show off those pink layers. For extra wow, brush a little rosé or syrup on the layers before filling and you’ll never look back.
- If gold luster dust isn’t on hand, silver or bronze will look just as festive.
- Leftover frosting makes brilliant cupcake swirls for the next day’s treat.
- Don’t forget to refrigerate leftovers (if you have any)—the flavors deepen overnight.
 Save to Pinterest
  Save to Pinterest
 Every time I cut into this cake, I can’t help but marvel at how a few pantry staples and a bold brush of color can turn a gathering into a true celebration. May your slice be pink, golden, and absolutely unforgettable—just like the occasion itself.
Recipe Questions & Answers
- → How can I boost the rosé flavor without adding more liquid?
Reduce other liquid slightly and brush layers with a concentrated rosé soak; alternatively simmer a small amount of rosé with sugar to create a syrup and brush on cooled layers for pronounced wine notes without thinning the batter.
- → What's the best way to achieve a smooth crumb coat?
Use chilled layers and apply a thin layer of frosting, smoothing with an offset spatula. Chill until firm (about 20–30 minutes), then apply the final coat for a clean finish and sharp edges.
- → How do I make a stable white chocolate drip?
Gently melt white chocolate with warm cream in short bursts, stir until fully smooth, then cool slightly so it thickens before dripping. Test drip consistency on the bowl edge to ensure it holds shape on the cake edge.
- → Can I make a non-alcoholic version that keeps the rosé character?
Swap rosé for concentrated sparkling grape juice or reduce rosé with sugar into a syrup and replace with the same volume of grape juice reduction to maintain bright, fruity notes without alcohol.
- → How should I store and serve the finished cake?
Keep the cake refrigerated for up to 3 days, covered to avoid drying. Let slices sit at room temperature 20–30 minutes before serving to mellow the chill and bring out the rosé and cream cheese flavors.
- → Any tips for painting the edible gold onto the drip?
Mix gold luster dust with a small amount of clear alcohol or clear extract to a paintable consistency. Brush gently onto a fully set white chocolate drip in thin layers, allowing each pass to dry to avoid streaks.